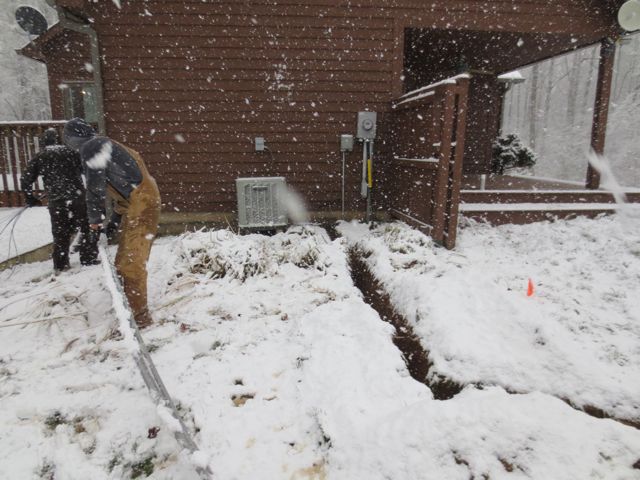
The next step in the construction of our Roll-off-Roof was the construction of the building. We chose a design from Back Yard Observatories, BYO.
Scott Horstman contacted me a few days prior to the planned start date, to let me know that a local building supply house would be making a delivery the following day. Here is a photo of the large pile of material that was delivered.
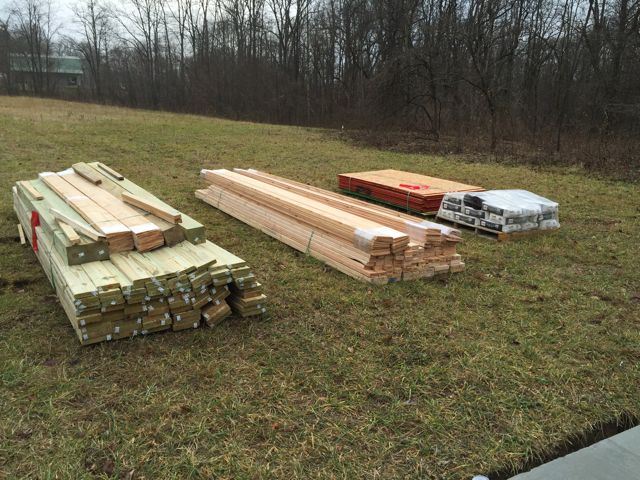
Building Materials Arrive
With the help of the delivery crew, I was able to identify and count all of the different items before I signed off on the delivery. This was harder than I thought it would be because there were many types of materials with names that were new to me. I know things like 2×4, 2×8 etc, but names like OSB and five quarter were new to me.
When Scott and his crew arrived the next day, they inventoried all of the materials before starting construction. Next, they measured the size and squareness of the concrete pad. Apparently, he has run into pads which were several inches from square. Scott quipped that it is still possible to build a square building on a trapezoidal foundation, but not ideal! Our foundation was square to within 1/8″ thanks to our excellent concrete contractor.
Sorting Material and Checking the Pad
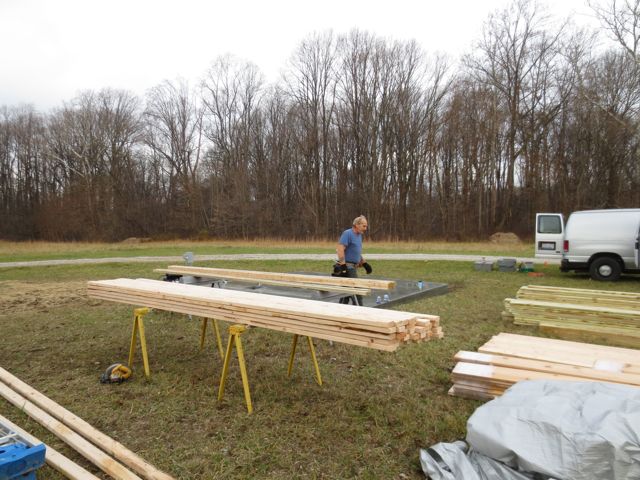
Once the pad had been checked, they began framing the walls. They were able to use the observatory’s concrete floor to assemble the walls. Since I already had power to the observatory pad, they were able to install a temporary outlet to run their saws and compressors. It was amazing for me was to not see Scott or any of his crew refer to a single drawing during the construction. He and his expert crew build so many of these observatories (although they are all different sizes) they automatically know the dimensions for every part!
Assembling One of the Walls
Once each wall was completed it was leveled and anchored in place.
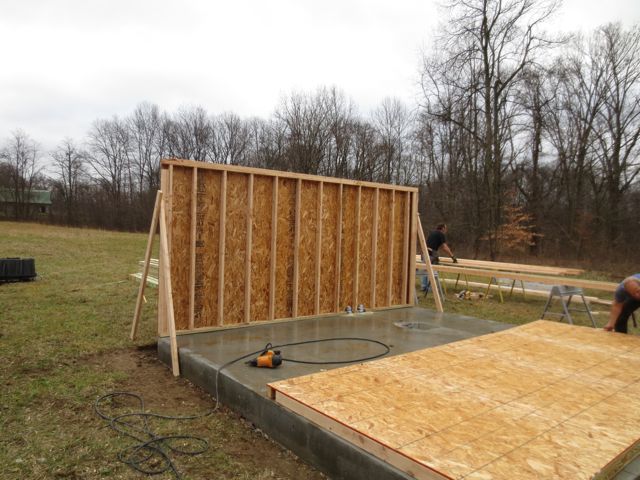
First Wall Up, 3 to Go
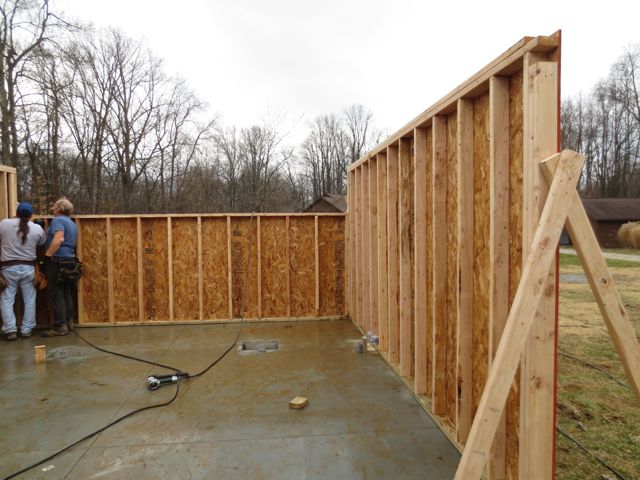
Here you can see that three walls have been completed. In the above photo you can see that the south wall is shorter. The gap in the top of the wall will be filled once the hinged drop- down south wall has been installed. Also, you can see the beefed up header on the right (West) wall. The additional header is needed to support the weight of the roll-off-roof. Below is photo looking from the South.
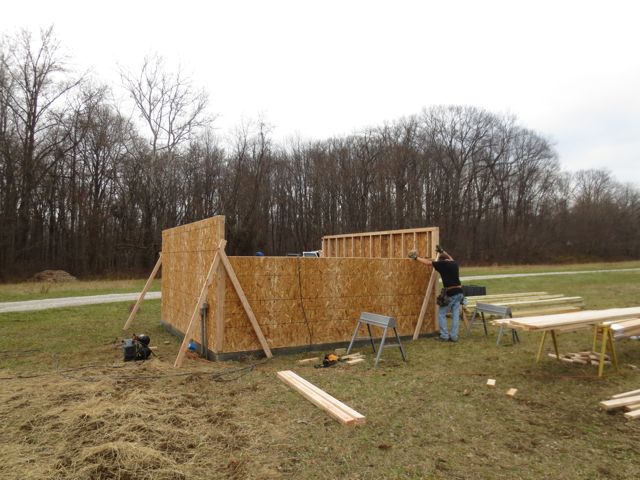
South Wall Showing Cutout for Drop Down Section
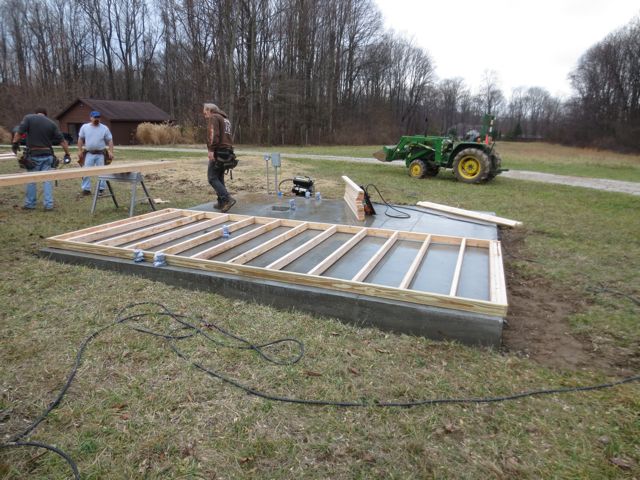
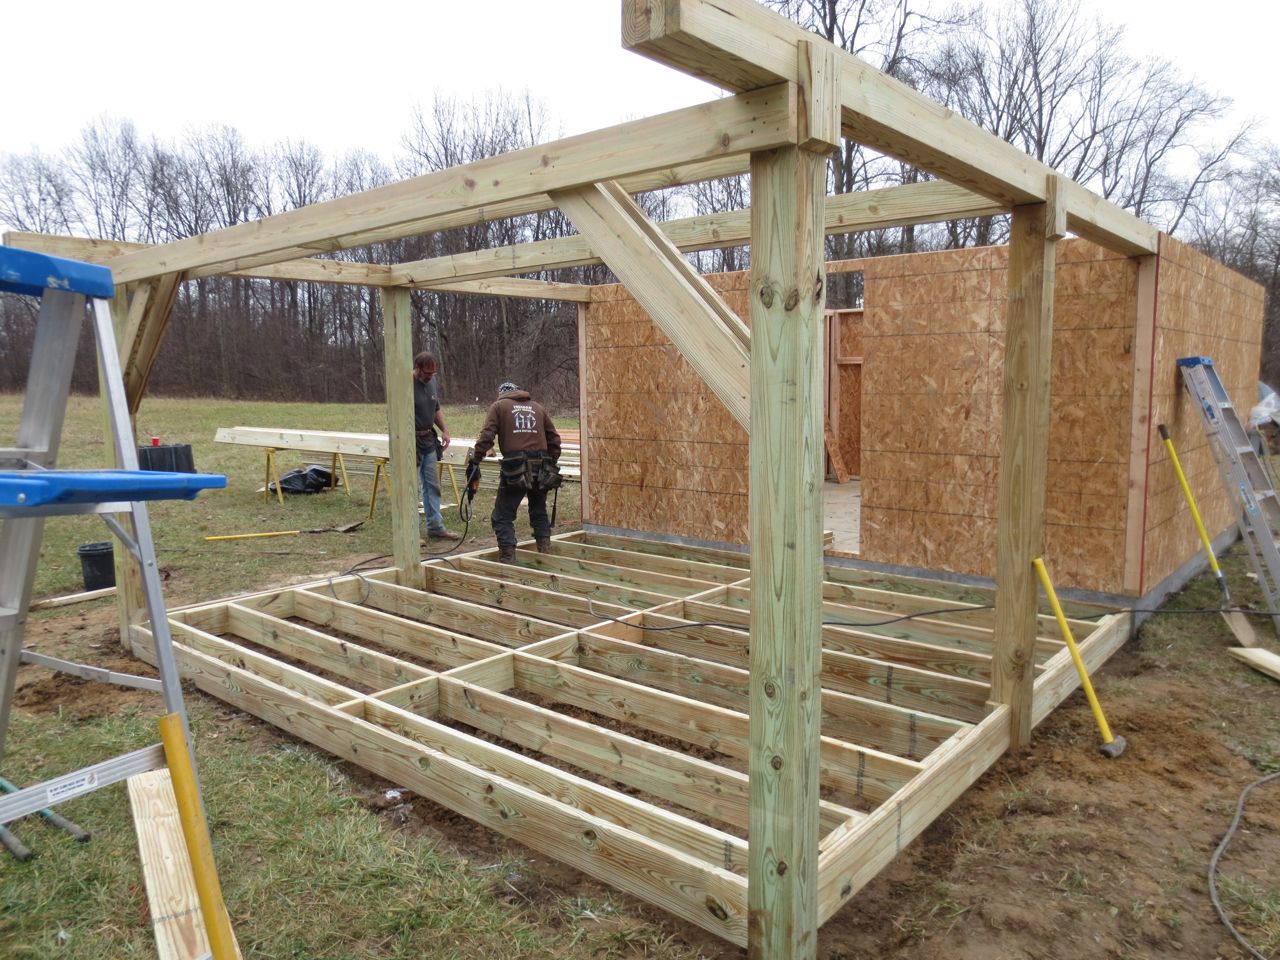
Once all four walls were in place, the framing for the roll-off-roof support structure was added. In addition, they are starting to frame the deck we had them add under the roll-off-roof supports. The deck turned out to be a very nice addition to the observatory. It makes a very nice place to sit and relax when we are waiting for it to get dark prior to a summer observing session.
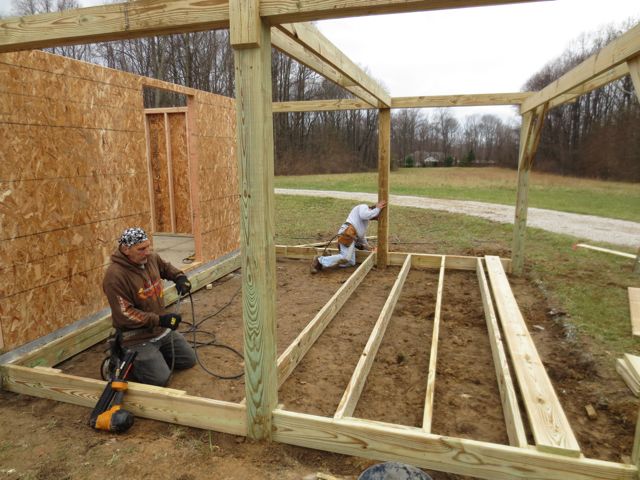
Construction of Deck and Roll-off_Roof Supports
With the framing for the deck completed it was time to start adding the decking.
We chose treated five-quarter decking, but in retrospect I would have probably gone with the more costly composite material to reduce future maintenance.
Deck Framing Complete
All of the decking was nailed down it was cut to length in a single cut. That is a pretty neat trick to make sure that all of the boards are exactly flush at the visible end of the deck. The other thing I realized is that doing it this way saves considerable time that would be required to measure and individually cut each board. Being the weekend hacker that I am, I don’t think I would have thought to do it this way.
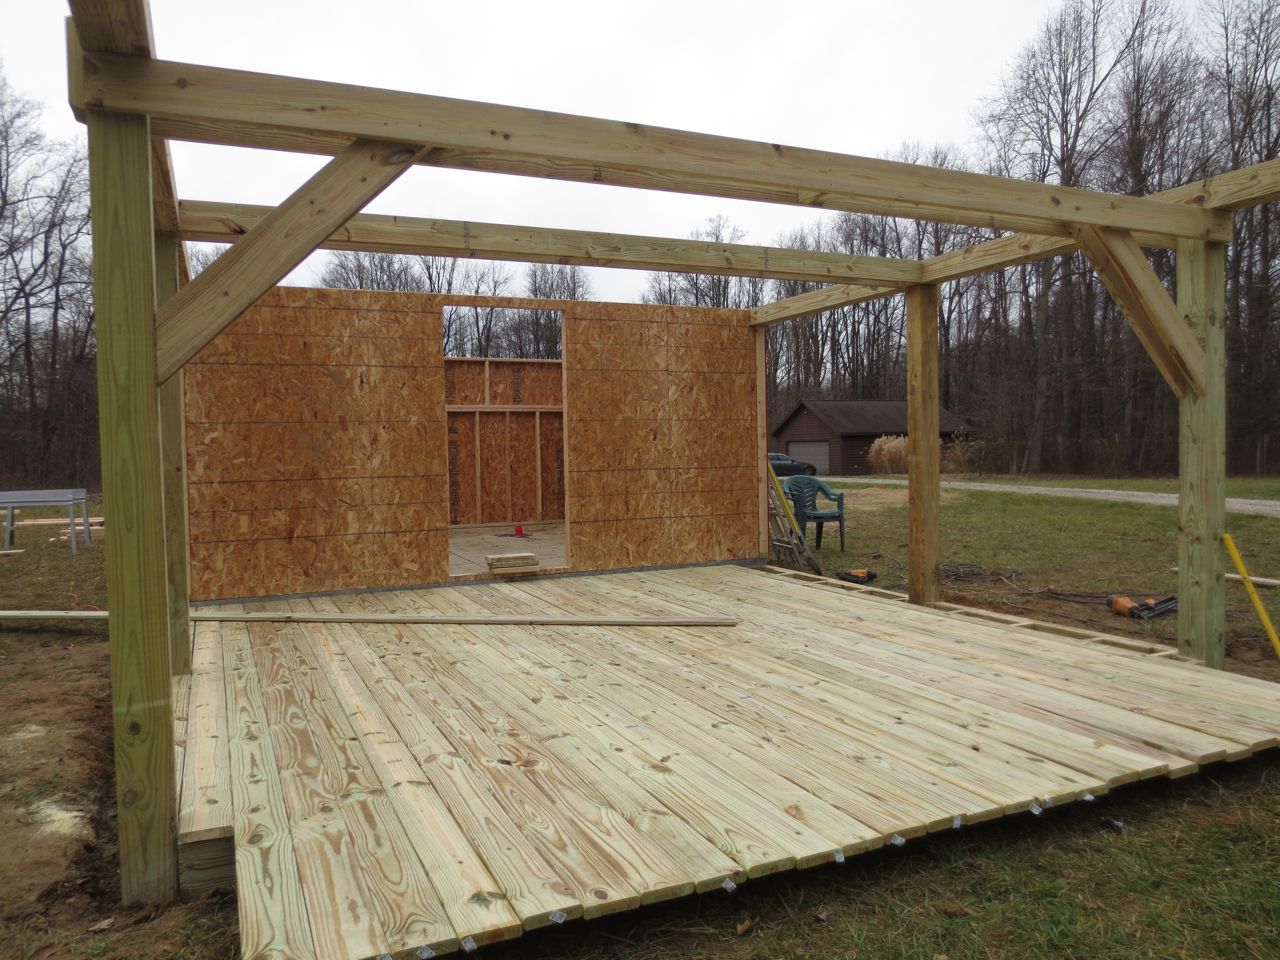
Deck Planking
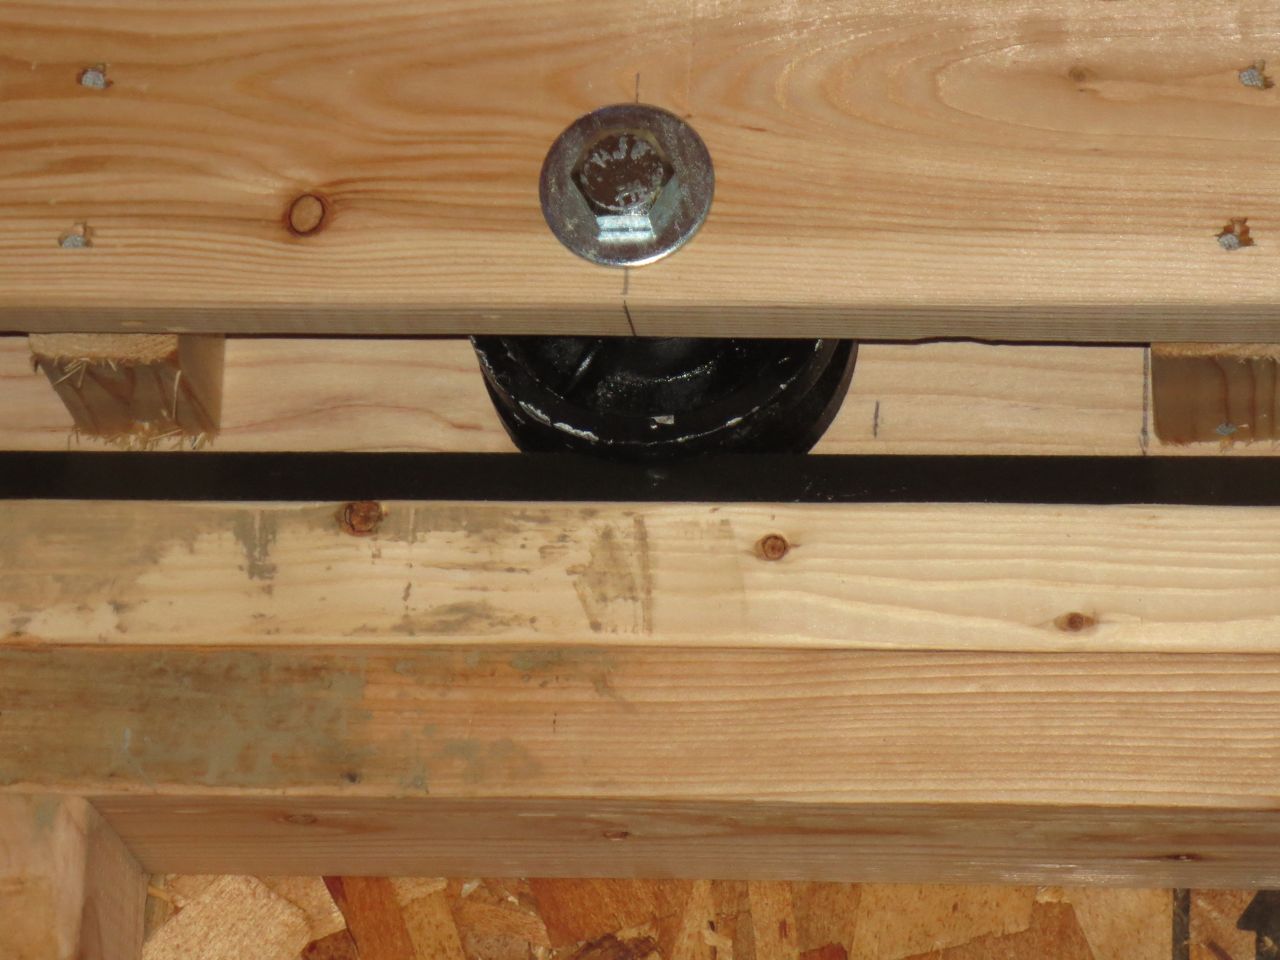
Once the walls and roll-off-roof support structure were completed, fabrication of the two rolling beams that support the roof trusses were assembled. There are four heavy duty steel “V” rollers used on each beam. The beam is also strengthened with a treated 2 x 8. The 2 x 8 also covers the gap between the top of the wall and the bottom of the roof.
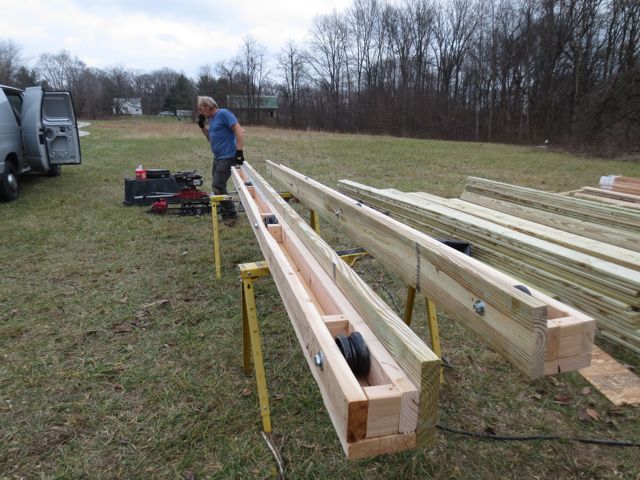
Construction of Roof Rollers
The following photo shows the roof support beams sitting on the angle iron rail which supports the roof and guides the rollers.
Roof Support and Rollers Installed on Wall and Roof Rail
Finally the roof was completed and ready to be rolled back if the rain would stop! We were lucky we were only getting sprinkles instead of a “hoosier” downpour, which would have stopped the work. Once the roof was on, the roof and walls were covered with felt paper before the metal roofing and cedar siding were installed.
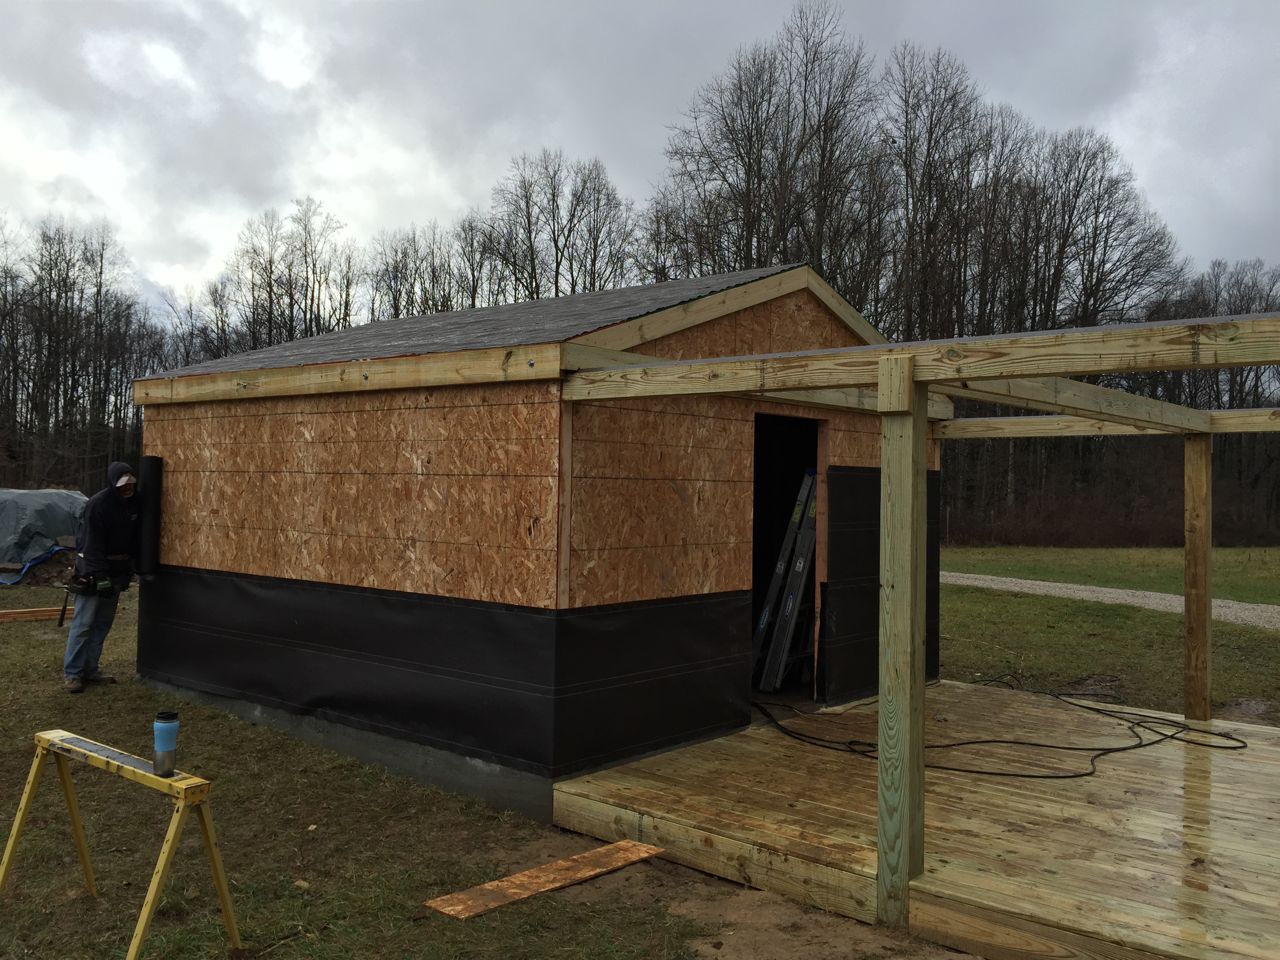
Roof Completed
In this photo the cedar siding has been installed and the metal roof is being completed.
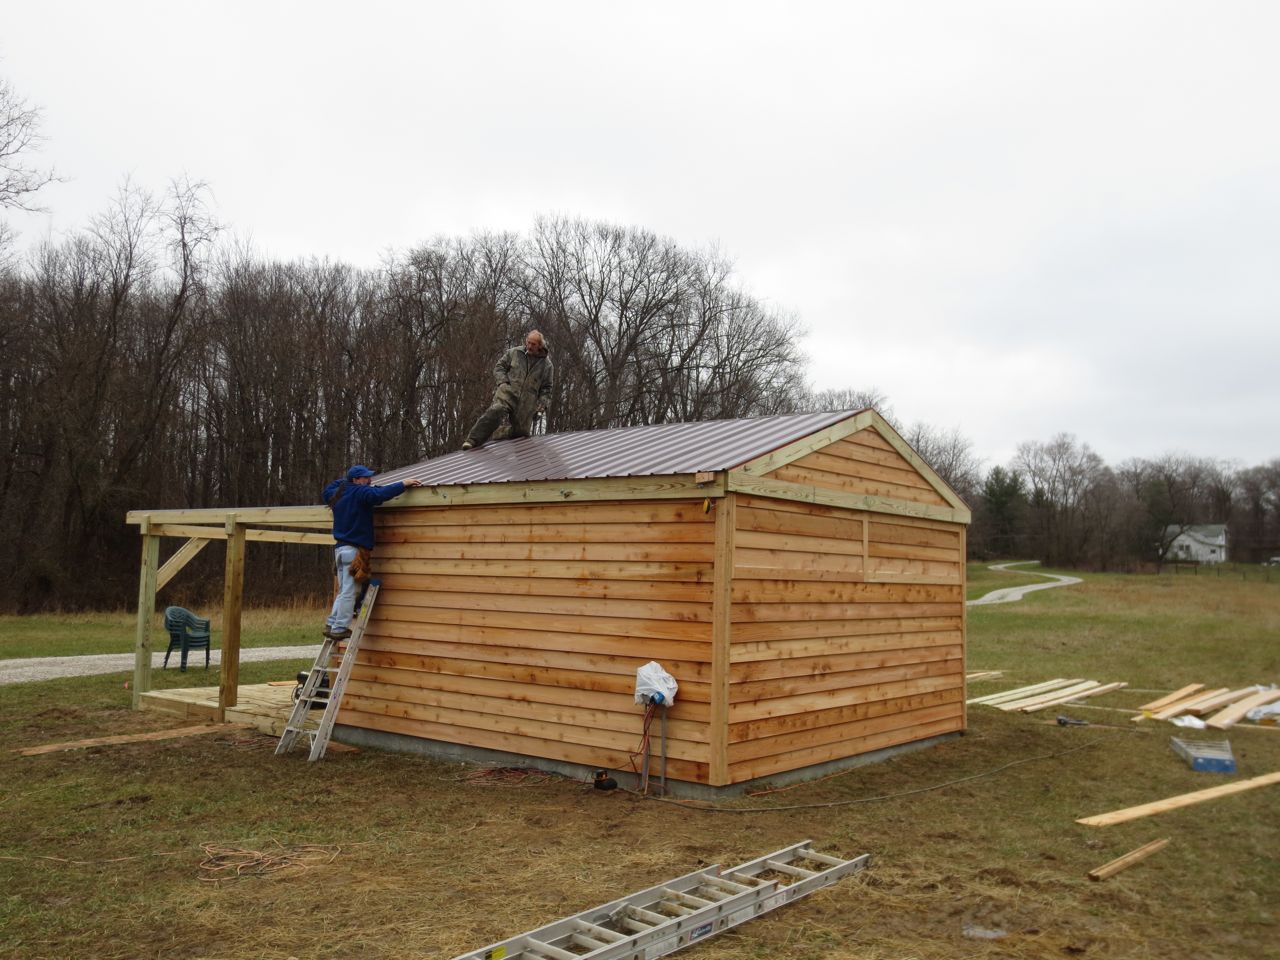
Metal Roofing and Cedar Siding Being Installed
The final photo shows what the observatory looks like with the roof rolled back! Our friends and family are always amazed when they seen the roof rolled back for the first time.

Observatory with Roof Rolled Back
In the next installment, I’ll move inside the observatory to show some of the interior details.